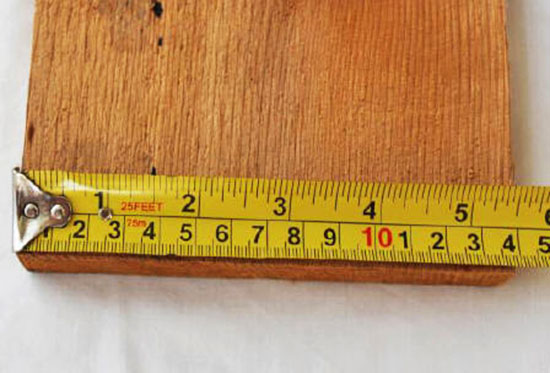
#Step 1 - Measure the Desired Wall Lengths
The very first step is to cut your 2" by 4"s to get posts for
the corners.
These will provide
support to the bed. For additional support and a stronger garden
box, you can install extra posts along the walls, too. The cut
length can be as long as the height your desire for your garden
box.
For the frame, cut six boards all 6-foot long, and another six
9-inch boards, each 3-foot long. For the support boards, cut ten
posts all 10.5 inches in length.
This will be enough
lumber to make your first standard-size garden bed.
#Step 2 -
Set up the Walls
Next, we shall join the boards together to build each wall.
To do this you need
to take the corner posts and set them atop the wall boards.
Proceed then to flush all the ends of the 6- ft walls and have
0.5-1 inches set back from the ends having the shorter walls.
After this is done, use the drill to make pilot holes and attach
your posts using screws. If you had previously cut additional
posts, this is the time to attach them too.
#Step 3:
Connect the Walls
The previous step should give you walls with which to form a
rectangular garden box.
It is now time to
connect these walls to form your garden box. So, drill pilot
holes at the end of each wall and connect these sides with
screws to form your box.
You should also
ensure the posts are affixed from the inside.

#Step 4:
Prepare the Location
Now that you have the frame, use it to trace an outline on the
location where the bed will be placed.
Such ground should be
natural ground rather than concrete or any other hard surface.
This ground will allow for proper drainage and root growth.
#Step 5:
Loosen the Ground
With your outline, set aside the frame and proceed to remove the
grass. Use a spading fork to loosen the dirt so as to help the
roots of your new plants' grow deeper into the ground.
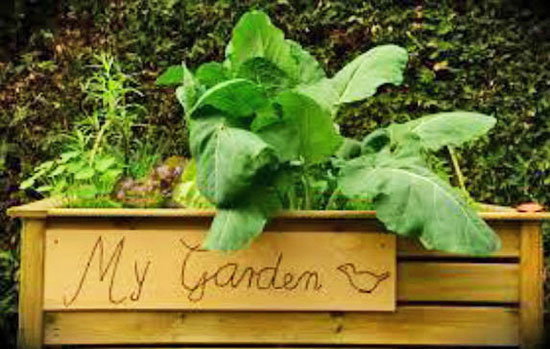
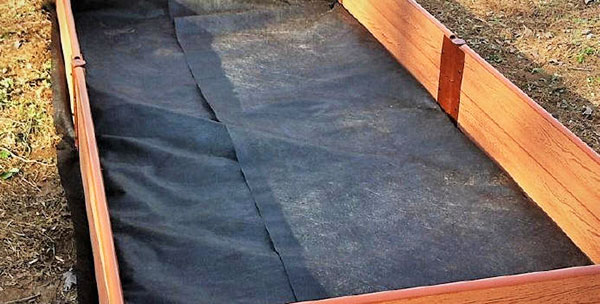
#Step 6:
Setting up the Garden Box
With the frame done and the ground loosened, only one step
remains; setting it up.
Before you do this
though, first staple the hardware cloth wide mesh at the bottom.
It will ensure weeds stay out and earthworms get in and enrich
your soil.
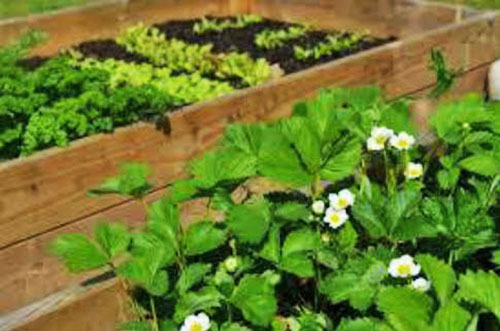
Once this is done, you can place the completed garden box on the
ground you had prepared.
Now all you need is
some soil rich in compost and nutrients for your box and the
garden box will be ready for planting.